Create a heartfelt funeral picture board by gathering wood boards, photos, and glue. Arrange photos strategically with a mix of sizes for a meaningful display. Add a vinyl quote for a personal touch, then decorate with stickers and glitter. Choose symbols or themes representing your loved one. Collaborate with family and friends for a touching tribute. To enhance the memory board, consider an online memorial website to showcase memories digitally. Start your DIY journey now to create a beautiful tribute that preserves cherished memories.
Key Takeaways
- Use quality wood boards, photos, glue, and sandpaper for a durable base.
- Arrange photos with varying sizes and orientations to tell a meaningful story.
- Add personal touches like vinyl quotes, stickers, and glitter for a unique touch.
- Incorporate symbols or themes representing loved ones for a heartfelt tribute.
- Collaborate with others to gather photos and create an online memorial for easy sharing.
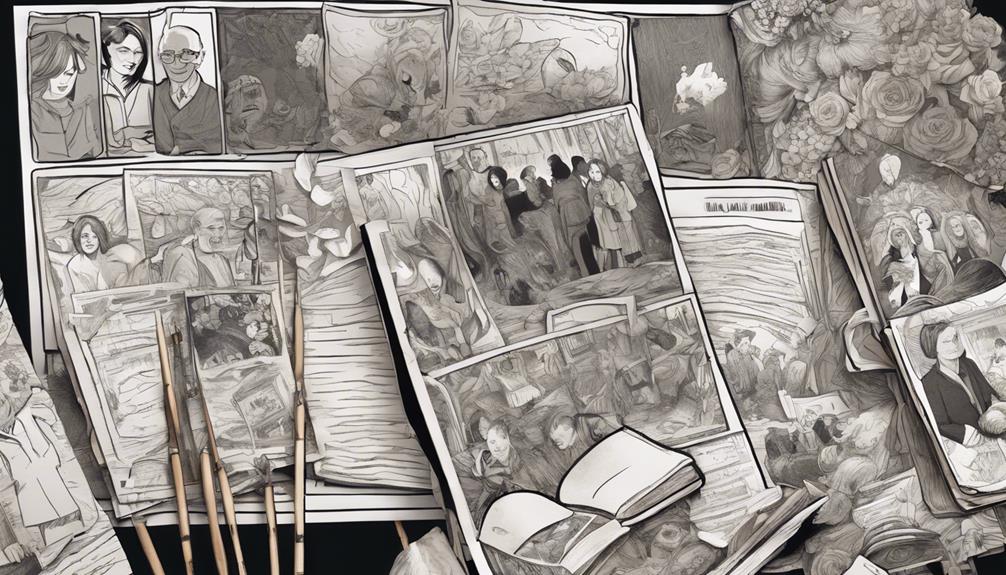
Gather Materials for Wood Memory Board
Wondering what materials you need to gather for creating a wood memory board? To start, you'll require quality wood boards, photos, glue, sandpaper, and stain.
When selecting the wood boards, opt for ones that are both durable and visually appealing to guarantee your memory board stands the test of time.
Next, use sandpaper to smooth out any rough edges on the wood boards, providing a polished and professional finish. Staining the wood boards in a color of your choice will enhance the overall look and feel of the memory board, adding a touch of personalization.
Finally, make sure to choose photos that hold sentimental value to you, as these will be the focal point of your wood memory board, creating a meaningful and personalized piece to cherish.
Arrange Photos on Wood Board
Now, let's talk about arranging photos on the wood board. Start by considering different photo placement techniques to create a visually appealing layout.
Explore wood board design ideas to enhance the overall look and feel of your personalized tribute.
Photo Placement Techniques
To create a visually engaging funeral picture board, arrange photos on a wood board using a mix of sizes and orientations. When considering photo placement for the memorial board of your loved ones, strategically position the photos to tell a chronological or thematic story.
Mix up the sizes and orientations of the pictures to add interest and variety to the overall look. Leave some space between the photos to maintain a balanced and organized appearance on the wood board.
Experiment with different layouts and arrangements before settling on the final placement to secure a cohesive and meaningful display. By paying attention to these photo placement techniques, you can create a touching tribute that honors the life and memories of your loved ones in a visually compelling way.
Wood Board Design Ideas
When creating your funeral picture board, consider incorporating wood board design ideas to arrange photos in a visually appealing and personalized manner. One way to achieve this is by cutting, gluing, sanding, and staining the wood board for a rustic and heartfelt touch. Enhance the design further by adding vinyl quotes and decorative elements that speak to the memory of your loved ones. Creating a collage-style arrangement of photos on the wood board can also make for a visually striking display that honors those you hold dear. To help you visualize different design possibilities, consider the following layout ideas:
| Layout 1 | Layout 2 | Layout 3 |
|---|---|---|
| Grid Pattern | Diagonal Rows | Overlapping |
| Balanced | Symmetrical | Random |
Experiment with these layouts and incorporate your personal touch to create a unique and beautiful photo board that pays tribute to your loved ones' memory.
Adhere Photos on Wood Memory Board
For a secure and visually appealing display, adhere your cut photos onto the wood memory board using matte mod podge. Here's how to do it effectively:
- Prepare Your Photos:
Cut your photos to fit the wood memory board, ensuring they align well with your design vision.
- Arrange Thoughtfully:
Before gluing, arrange the photos on the board in a layout that holds significance, such as chronological order or thematic grouping.
- Apply Mod Podge:
Using a brush, carefully apply matte mod podge over the photos. This not only secures the pictures but also provides a protective layer and a polished finish.
Add Vinyl Quote on Wood Board
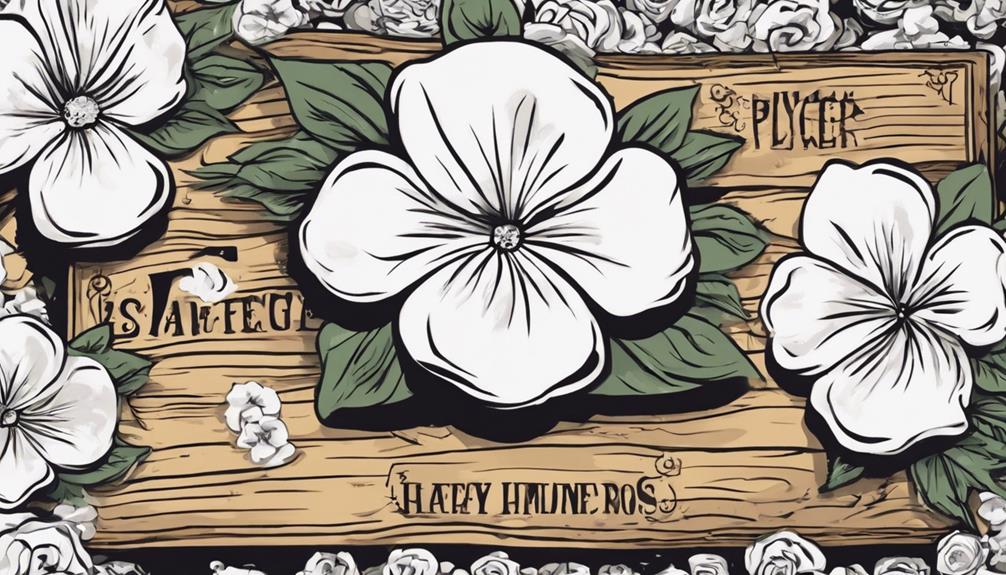
You can enhance the personalization of your wood memory board by adding a vinyl quote. Choose a meaningful quote that reflects the essence of the person being honored.
Consider the placement and size of the vinyl quote to create a visually appealing and heartfelt tribute.
Vinyl Quote Placement
To add a vinyl quote to the wood memory board, start by measuring and cutting the vinyl to fit your desired placement. Follow these steps for precise vinyl quote placement:
- Measure and Cut: Carefully measure the space on the wood board where you wish to position the vinyl quote. Utilize scissors or a cutting machine to trim the vinyl to the precise size required.
- Apply Transfer Tape: Once the vinyl quote is trimmed, apply transfer tape over the top of the vinyl. This will assist you in lifting the quote off its backing and onto the wood board without misaligning the letters.
- Smooth Adherence: After positioning the vinyl quote on the wood board, use a scraper tool to ensure the vinyl sticks smoothly to the surface. Apply pressure evenly to avoid any air bubbles or creases in the vinyl. This will result in a neat and professional appearance for your loved one's memorial photo board.
Wood Board Personalization
Begin by selecting a vinyl quote that holds significance to the individual being commemorated, ensuring it reflects their personality or values. Consider phrases that encapsulate their essence or beliefs. Quotes like 'In loving memory,' 'Forever in our hearts,' or a personal motto they lived by can add a heartfelt touch.
When adding the vinyl quote to the wood board, make sure it's prominently displayed to honor their memory effectively. Incorporating the loved one's life, photos, and mementos alongside the vinyl quote can create a beautiful tribute. You can also personalize the board with their name, important dates, or a favorite saying to make it unique.
For design ideas, mix different fonts, colors, and sizes to create an aesthetically pleasing arrangement. By adding a vinyl quote to the wood board, you're preserving their memory in a meaningful and lasting way that celebrates their life.
Select Background for Memory Board
Consider selecting a background that complements the overall theme and color scheme of the memory board. When choosing a background for your memory board dedicated to your loved ones, keep these tips in mind:
- Solid Colors: Opt for a solid color background to create a clean and elegant backdrop that allows your photos and decorations to stand out.
- Material Options: Explore different materials such as craft paper, fabric, or themed patterned paper to add a personalized touch to the memory board.
- Sturdiness Matters: Make sure the background you choose is strong enough to support the weight of the photos and decorations without tearing or wrinkling, providing a stable foundation for your display.
Arrange Photos and Labels
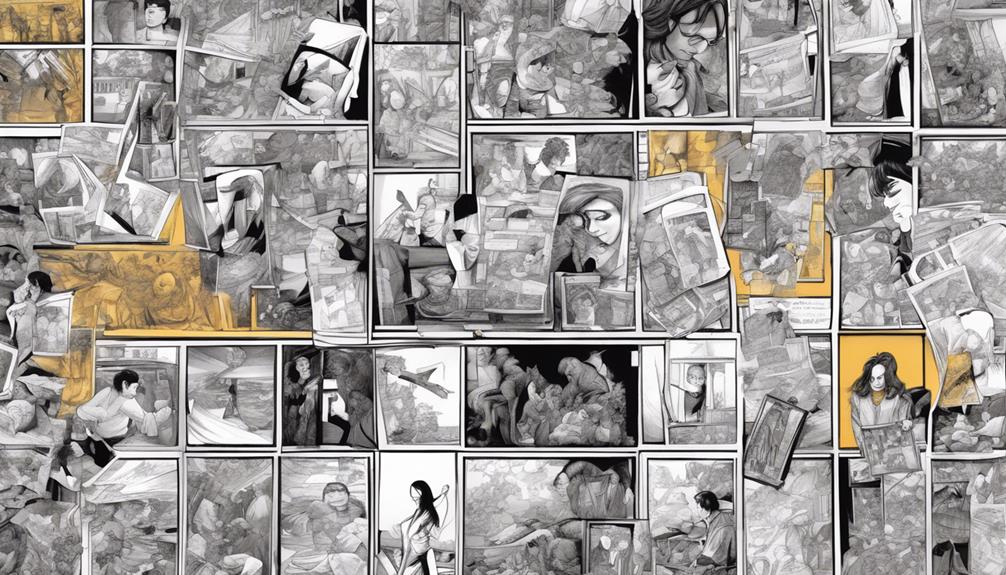
When arranging photos and labels on the funeral picture board, focus on creating a visually engaging display that tells a meaningful story of your loved one's life. Arrange photos thoughtfully to showcase the journey and special moments shared with loved ones. Utilize labels to provide context and details that help viewers connect with the memories captured in each photo. Place labels strategically near the corresponding photos so that the information seamlessly complements the visual elements. To guide you in arranging the photos and labels effectively, consider the following layout:
| Column 1 | Column 2 | Column 3 | Column 4 |
|---|---|---|---|
| Childhood | Adolescence | Adulthood | Special Events |
| Family | Friends | Achievements | Hobbies |
| Vacations | Milestones | Professional | Personal |
| Pets | Community | Travel | Holidays |
Decorate Memory Board
Enhance the memory board by incorporating personalized elements like stickers, glitter, and labels for a unique and heartfelt touch. To make your memory board truly special, consider the following tips:
- Personalized Touch:
Add stickers with meaningful symbols or themes that represent your loved ones.
Incorporate glitter to bring a subtle sparkle to the board, creating a warm and inviting atmosphere.
- Strategic Photo Placement:
Arrange your photos thoughtfully on the foam board.
Guarantee they're securely attached using washi tape to prevent any accidental damage or displacement.
This will create a visually appealing display that honors the memories captured in the photos.
- Meaningful Messages:
Include heartfelt quotes or personal messages alongside the photos.
These additions can serve as a comforting reminder of the love and memories shared with your loved ones.
Seek Help From Family and Friends

Collaborate with family and friends to gather forgotten photos and mementos for the funeral picture board to guarantee a meaningful display is created. Enlist their help in organizing and arranging the photos and mementos to give a personal touch to the board.
Involving loved ones in this process not only helps in honoring the memory of the departed but also creates a shared experience that can be comforting during a difficult time. By collaborating with friends and family, you can draw on their insights and ideas to make the picture board truly special and reflective of the life being celebrated.
Sharing memories and stories can provide a therapeutic benefit and help to strengthen bonds with those who are also grieving. Remember, the support and contributions of your loved ones can make the task of creating the funeral picture board more manageable and meaningful.
Create an Online Memorial Website

Consider utilizing an online memorial website like Murial's Memorial Creator to craft a personalized tribute for your loved one.
When creating an online memorial website, keep in mind the following:
- Showcase Memories Digitally: Take advantage of features like photo albums, video galleries, and storytelling sections to create a detailed digital tribute that captures the essence of your loved one.
- Share with Ease: Online memorial websites allow you to effortlessly share the tribute with friends and family members, enabling them to participate and view the content remotely.
- Enhance the Experience: Features such as interactive guest books, virtual candles, and event calendars can enhance the online memorial experience, providing a space for loved ones to connect, share condolences, and commemorate special moments.
Creating an online memorial website offers a lasting tribute that can be accessed and revisited by loved ones anytime, anywhere, fostering a sense of connection and remembrance.
Frequently Asked Questions
How to Create a Photo Board for a Funeral?
To create a photo board for a funeral, select meaningful photos, arrange them in order, add captions for context, securely attach them to a sturdy board, and personalize with quotes or memorabilia. Make it a beautiful tribute.
How to Make a Funeral Photo Display?
Gather meaningful photos, choose suitable board material, arrange photos thoughtfully, securely attach with adhesive or pins, and add captions for context. Create a beautiful funeral photo display by following these steps to honor your loved one.
How to Make a Memory Board at Home?
To make a memory board at home, gather photos and a board. Arrange them creatively, using glue or tape to secure. Add personal touches like quotes and stickers. Let it dry before displaying. Honor your loved one with a heartfelt tribute.
How Do You Make a Picture Board?
To make a picture board, gather photos that tell a story, choose a backing board, arrange the pictures creatively, secure them in place, and consider adding personal touches like captions or quotes. It's a beautiful way to honor memories.
Can I Use the Tips for Creating a Vintage Gallery Wall to Create a Funeral Picture Board?
When creating a funeral picture board, consider using the stunning vintage gallery wall tips to assemble a beautiful and meaningful display. Utilize antique frames, black and white photographs, and vintage memorabilia to tell the story of your loved one’s life. Arrange the items with care and reverence to honor their memory.
Conclusion
Now that you have completed your beautiful funeral picture board, you have created a meaningful tribute to honor your loved one's memory. Remember to take your time and personalize the board with special photos and quotes that truly capture their essence.
This DIY project can be a comforting way to celebrate their life and share cherished memories with family and friends. Keep their spirit alive with this heartfelt creation.