To install a pressure-side pool cleaner, start by choosing a suitable location for the booster pump if needed, and make certain your existing pump supplies enough pressure and flow. Connect the cleaner’s hose securely to the skimmer or suction port, tighten all fittings to prevent leaks, and confirm the cleaner is positioned correctly for effective cleaning. If you keep these steps in mind, you’ll be on your way to a sparkling pool—more tips will help you master the process.
Key Takeaways
- Select a suitable location for the booster pump and ensure it is properly installed and functioning.
- Connect the cleaner’s hose securely to the skimmer or dedicated suction port, tightening all fittings to prevent leaks.
- Attach hoses firmly, confirming the cleaner is correctly positioned for efficient movement and cleaning.
- Verify the booster pump operates correctly and maintains appropriate pressure during setup.
- Regularly inspect hoses and parts for debris or wear, and clean or replace components as needed.
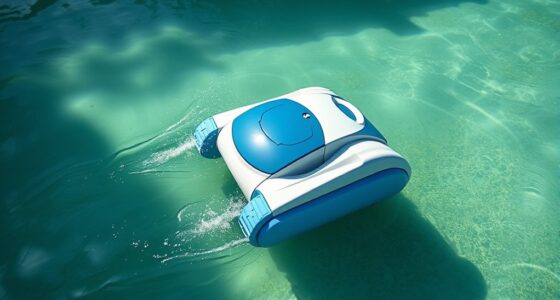
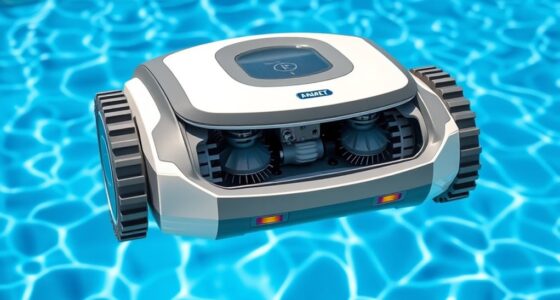
A pressure-side pool cleaner is an efficient device that uses the pressure from your pool’s pump to move and clean the pool’s surfaces automatically. Installing it correctly ensures it functions at its best and helps keep your pool sparkling. Before you start, it’s essential to understand that maintaining your cleaner involves regular vacuum maintenance and paying close attention to your pool chemistry. These factors influence the cleaner’s performance and longevity.
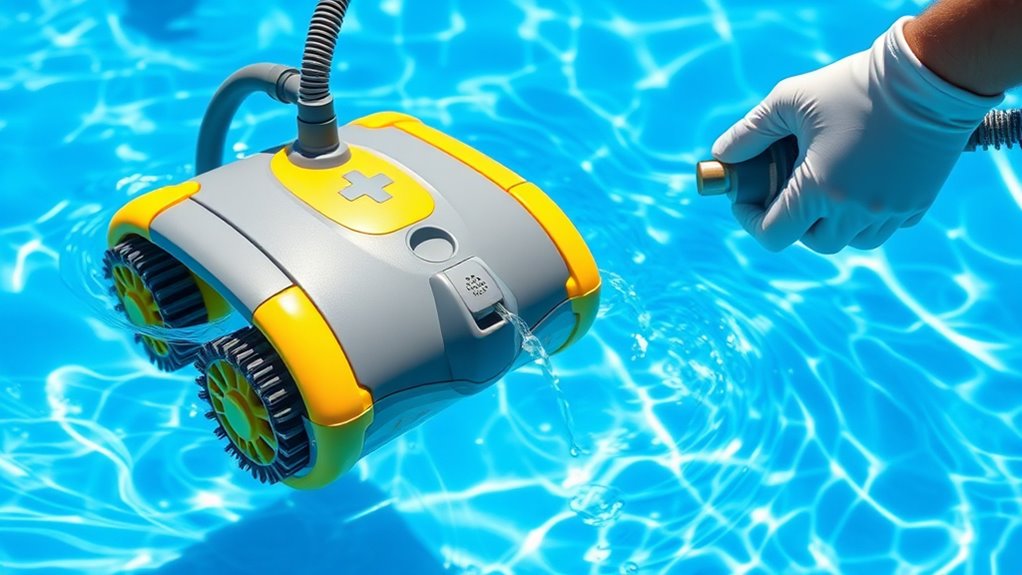
Begin by selecting a suitable location for the booster pump, if your model requires one, and ensure your existing pool pump supplies sufficient pressure. Consult your cleaner’s manual to verify compatibility with your pump’s flow rate and pressure requirements. Proper installation depends on connecting the cleaner’s hose or hose assembly securely to the skimmer or dedicated suction port, depending on your setup. Make sure all connections are tight to prevent leaks that could reduce pressure and hinder cleaning efficiency. Once connected, it’s wise to check for any obstructions or debris in the hose, as these can impair movement and cleaning ability.
While setting up your pressure-side cleaner, keep in mind that vacuum maintenance is vital. Regularly inspect and clean the hoses, brushes, and intake areas to prevent buildup of dirt, algae, or debris, which can diminish cleaning performance. Also, ensure your pool’s filtration system is working effectively, as a clean filter promotes better circulation and pressure, leading to more efficient cleaning cycles. Maintaining proper pool chemistry is equally important, as imbalanced pH levels, high calcium hardness, or excessive algae can cause deposits and scaling on the cleaner’s parts, reducing its lifespan and effectiveness.
As you operate your cleaner, monitor the pressure gauge on your pump. If the pressure drops markedly or spikes unexpectedly, turn off the cleaner and inspect for clogs or leaks. Keeping the pool’s water chemistry balanced helps prevent scale buildup and ensures that the cleaner can glide smoothly across surfaces. Regularly check the cleaner’s parts for wear and tear, replacing brushes or seals as needed to maintain top vacuum performance. Properly storing the cleaner during the off-season or when not in use extends its lifespan and ensures it’s ready for the next pool season.

Bidet Toilet Seat-Electric Heated Bidet Attachment for Toilet with Instant Warm Water & Dryer, Feminine & Front Rear Wash, Self-Clean Nozzle, Upgraded Silent ECO Child Mode
𝙉𝙤 𝙈𝙤𝙧𝙚 𝘾𝙤𝙡𝙙 𝙈𝙤𝙧𝙣𝙞𝙣𝙜𝙨 · 𝘾𝙤𝙢𝙛𝙤𝙧𝙩 𝙎𝙩𝙖𝙧𝙩𝙨 𝙩𝙝𝙚 𝙈𝙤𝙢𝙚𝙣𝙩 𝙔𝙤𝙪 𝙎𝙞𝙩 Tired of icy toilet seats on cold...
As an affiliate, we earn on qualifying purchases.
Frequently Asked Questions
How Often Should I Clean My Pressure-Side Pool Cleaner?
You should follow a regular maintenance schedule for your pressure-side pool cleaner to keep it functioning well. Cleaning frequency depends on how often you use your pool and the surrounding environment. Typically, check and clean the cleaner every 1-2 weeks, removing debris and inspecting for damage. Regular maintenance ensures peak performance and longevity, so stay attentive to signs of wear and perform necessary cleanings accordingly.
Can I Use a Pressure-Side Cleaner on a Saltwater Pool?
Yes, you can use a pressure-side cleaner on a saltwater pool, but make sure it’s saltwater compatible. Check your cleaner’s specifications for saltwater compatibility to prevent corrosion. Regular cleaner maintenance is essential to keep it functioning properly and to avoid buildup from salt residue. Using a saltwater-compatible cleaner will help extend its lifespan and maintain ideal cleaning performance, making your pool maintenance easier and more effective.
What Should I Do if My Cleaner Is Not Moving?
Ever wonder why your cleaner isn’t moving? First, check if it’s properly connected and if the hose isn’t tangled. Make sure you’ve done regular cleaner maintenance, like cleaning the intakes and filters. Also, verify your cleaner is compatible with your pool surface, as some models struggle on certain materials. If these steps don’t work, you might need to adjust the pressure or replace worn parts.
How Do I Troubleshoot if the Cleaner Gets Stuck?
If your cleaner gets stuck, start by inspecting for pool debris that might block the movement. Check the hose for kinks or twists, as these can cause the cleaner to halt. Straighten out any kinks and remove debris from the hose and cleaner. Also, verify the hose is properly connected and floating correctly. Regular maintenance like this keeps your cleaner moving smoothly and prevents it from getting stuck.
Is Professional Installation Necessary for My Pressure-Side Cleaner?
Think of installing your pressure-side pool cleaner as maneuvering a complex maze—you might find the DIY setup tricky or confusing. While some find it manageable, professional installation guarantees everything aligns perfectly, like a well-orchestrated symphony. If you’re comfortable with basic tools and instructions, a DIY setup could work. However, for peace of mind and peak performance, investing in professional installation is a smart move.

XCQQ Electric Heated Bidet Toilet Seat with Warm Water Wash, Warm Air Dryer, Soft Closed Lid, Night Light, LED Display, Toilet Seat with Bidet Requires Outlet - Elongated
Electronic Bidet Toilet Seat: This heated toilet seat features a soft-close lid, warm air dryer, adjustable water temperature...
As an affiliate, we earn on qualifying purchases.
Conclusion
Installing a pressure-side pool cleaner is a smart choice, with over 80% of pool owners reporting cleaner pools and less maintenance time. By following these simple steps, you’ll enjoy a sparkling clean pool all season long. Remember, proper installation not only saves you time but also extends the lifespan of your cleaner. So, take your time, double-check connections, and plunge into a hassle-free swimming experience!
Amazon Product B015GC6SAC
As an affiliate, we earn on qualifying purchases.
Amazon Product B0FWC2BNJ7
As an affiliate, we earn on qualifying purchases.